(Last Updated On: February 23, 2018)
Calculating with formulas and equations is part of most Excel users’ job. Building various charts to visualize status in a clear manner makes their work simpler. Also, it is pretty much required for them to use pivot tables to group and filter out big data. Unfortunately, it is not always the case that you have editable Excel documents at your hand. Sometimes the only format available for you is PDF. So, how do you deal with those inaccessible data in PDF? This is a problem indeed but you don’t have to worry about it. A free PDF to Excel converter software program will make it easy to bring PDF’s data into Excel very quickly.
When you search for free software to convert PDF to Excel, you will be bombarded with hundreds of relevant tools. But in fact, most of them are not feasible to meet your conversion needs. Here we highly recommend All PDF Converter Pro, which is the optimal free PDF converter available for turning your PDF file back into an editable Excel and compatible with all Windows versions. It is not only able to convert each PDF page into an individual Excel sheet but also can extract just the data you need and export it to Excel spreadsheets by page range customization. Furthermore, its unmatched conversion ability can perfectly preserve your data along with columns, layouts, and formats. So today, I am going to teach you how to use this free software to convert PDF to Excel.
How to Use All PDF Converter Software to Convert PDF to Excel on Windows.
First, you need to download and install this free PDF to Excel converter.

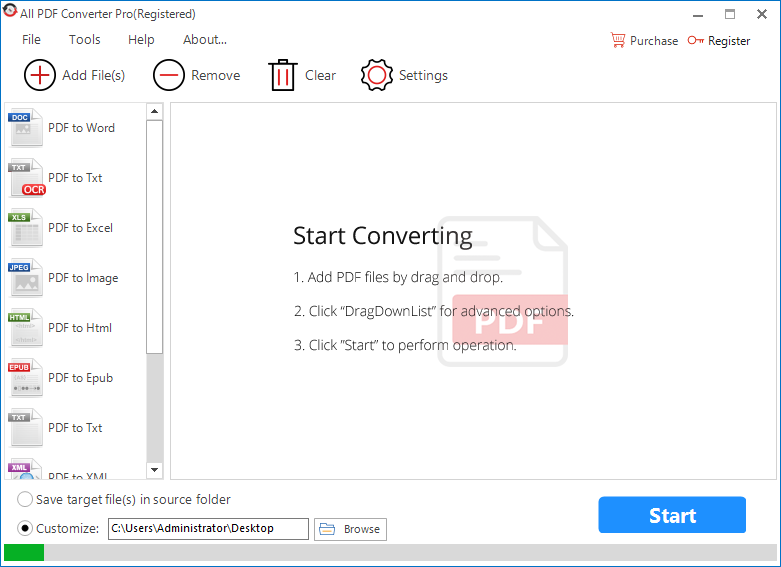
Second, run the program and you will see the minimalistic interface as below.
Step 1. Import PDF Files.
Click on “Add Files” button to upload one or more PDF files into the program.
![]()
You also can drag and drop multiple PDF files into the program at the same time.
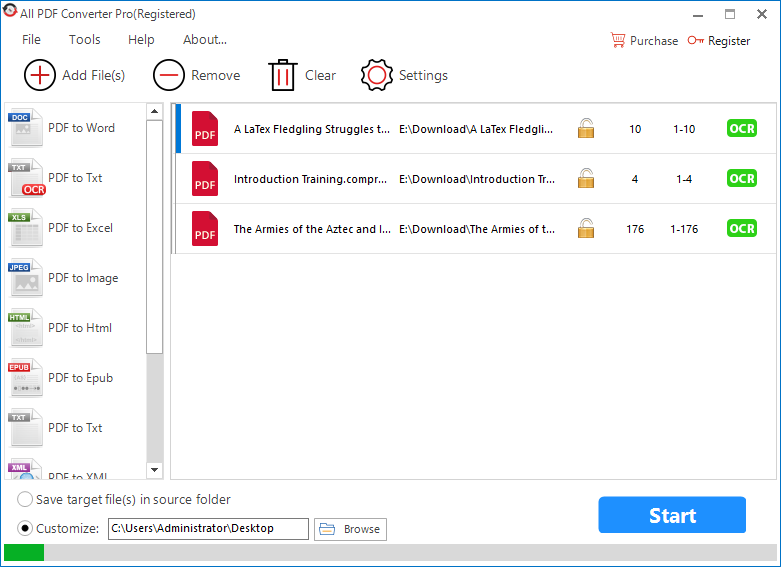
Once imported into the program, all files will be shown in the main window.
Step 2. Choose Conversion Type.
Select “PDF to Excel” on the left side panel as the conversion type.
![]()
Step 3. Define Page Range.
Right-click on the file and a context menu pops up. Then, click on “Page Range”.

For converting all PDF pages, select “All Pages”.
For customizing page range, select “Specified Page Range” and type into page number.
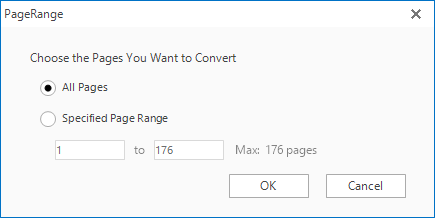
Remember to apply the setting by clicking on the “OK” button.
Step 4. Set Output Path.
You can save the output file in the source folder by clicking on “Same as Resource”.
You can also save the output file in a desired location through path bar or browse dialog.

Step 5. Convert PDF to Excel.
When you complete all setup steps, click on “Start” to start the conversion.

Several seconds later, you will be notified by a prompt dialog that the conversion is finished and get the converted file on your computer.
If you often encounter PDF files at work and need to analyze the data, All PDF Converter Pro is definitely your necessary assistant. This free PDF to Excel Converter software will save you countless hours on tedious data entry and reformatting tasks. With just a few clicks, you will get accurate and workable Excel sheets.