(Last Updated On: February 24, 2018)
PDF is the most popular format for sharing word processed documents. But troubles will arise if PDF file size keeps growing. Large PDF attachments can’t be sent via email due to the commercial limitations applied to both sending and receiving. Voluminous PDF files consume more bandwidth and take too long to upload. So, it’s important to slim your PDFs down to a more manageable size. Then what makes PDFs larger than expected? Images in high resolution and dpi do. Thus, if images are not particularly needed, you can remove them to reduce the size of a PDF significantly. Luckily, you can achieve it by using a PDF compressor. This tool provides a fast method for deleting images in PDFs, which results in less PDF size.
Among innumerable PDF compressing products, PDF Compressor V3 stands out as a free utility for Windows. It aims to give you a hand to eliminate images embedded in PDFs while not affecting file layout or any other elements in the file. This lightweight program comes with a simplistic interface where functions are displayed straightforwardly. So even a beginner can benefit from its abilities without efforts. Most of all, it’s batch mode allows users to compress a large number of PDF files at one time. Today, I will teach you how to remove all images from a PDF using PDF Compressor V3.
How to compress a PDF by removing images from it with PDF Compressor V3.
Click on the “Free Download” button below to start downloading. After that, run the installer and complete the installation.

Step1. Launch Program and Upload Files.
Double-click on the short-cut icon to run the program on your Windows system.
You have three choices to upload files.
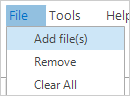
1. Click on “File”>”Add file(s)”.
Navigate to the file you want to compress and open it.
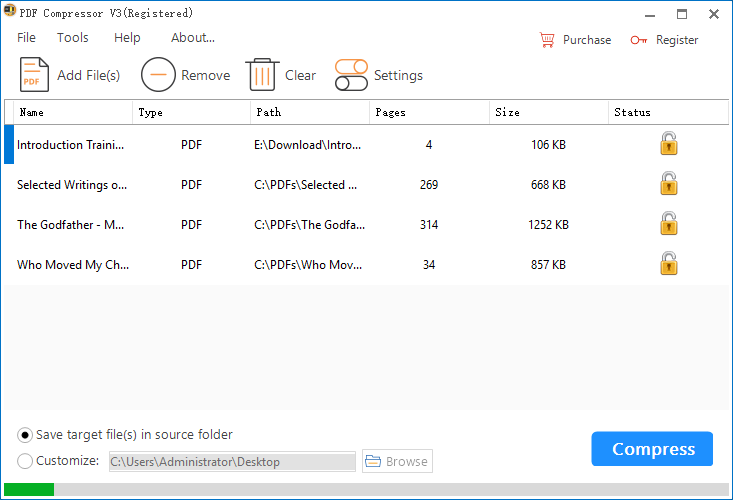
2. Click on “Add File(s)”, browse for the file you and open it.
![]()
3. Drag and drop the file into the primary window.
Tip: You can upload multiple files simultaneously.
After files are loaded into the program, they will be lined up in the primary window.
PDF Compressor V3 shows you a preview of the file before conversion.
Choose the file, right-click on it, select “PDF Preview” in the drop-down menu.
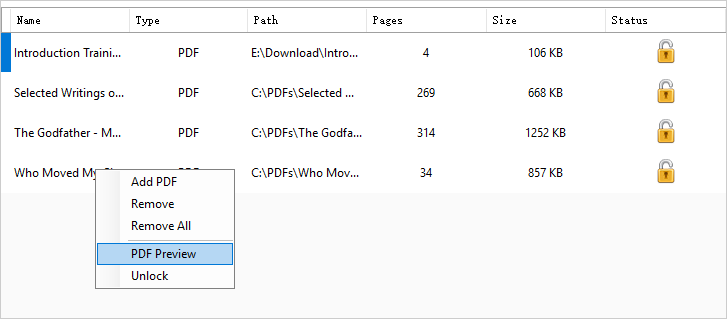
Then, you can check each page of the file by scrolling down or dragging the scrollbar.
Step 2. Configure Compression Option.
Click on “Tools” >”Settings”. Then, the compression option panel pops up.
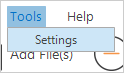
You can also hit the “Settings” button to launch the compression option panel.
![]()
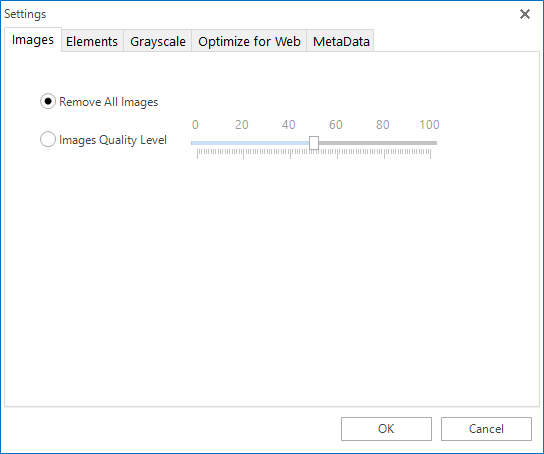
On the “Images” tab, select “Remove All Images”.
Step 3. Set Output Folder and Start Compression.
You can keep the default setup and you will find output files with source files.
You can also choose “Customize” and specify a new output folder.

Press the button “Compress” and the program will do the compression work for you.

Tip: When the compression is finished, you will see a prompt dialog.

With simply 3 steps above, you will remove images from a PDF and find your file massively shrunk. PDF compressor V3 would make your PDFs small enough so that they can be shared more efficiently across media platforms. With batch compression and ease of use, this free piece of software is definitely the best choice for you to reduce the PDF size.