(Last Updated On: March 22, 2018)
PDF files are convenient for transferring across different media. But problems come by as PDFs become larger than usual. There is nothing worse than opening files online that gets a long delay or uploading files to the cloud that takes ages. So, as you can see, it’s quite necessary to resize PDF file when it is massively-sized. The major reason that increases PDFs’ sizes is that images embedded in them are in high resolution and dpi. Therefore, if you want PDFs smaller, you need to downsample images to make a difference. So, is there a way to decrease the number of pixels in images? Fortunately, a PDF resizer can help you compress images within PDFs in a simple and quick way.
By googling PDF compressor tool, you certainly will get numerous relevant results in return. But It’s quite hard to find an optimal compressor that shrinks image size while keeping good image quality. This is why I want to introduce PDF Compressor V3 to you. PDF Compressor V3 is a minimalistic desktop-based compressor that has a compression ratio of 35%. It’s also able to adjust the resolution of images included in PDFs without an obvious reduction in image quality. More notably, it retains the file layout and originality during the optimization process. In the tutorial below, I will show you how to resize a PDF by compressing its embedded images with PDF Compressor V3.
How to compress images within PDFs using PDF Compressor V3.
PDF compressor V3 is a freeware. So you can free download it by clicking on the button below.

Run the installer to start installing.
When the installation is finished, launch the program by clicking on the shortcut icon.
Step 1. Add PDFs.
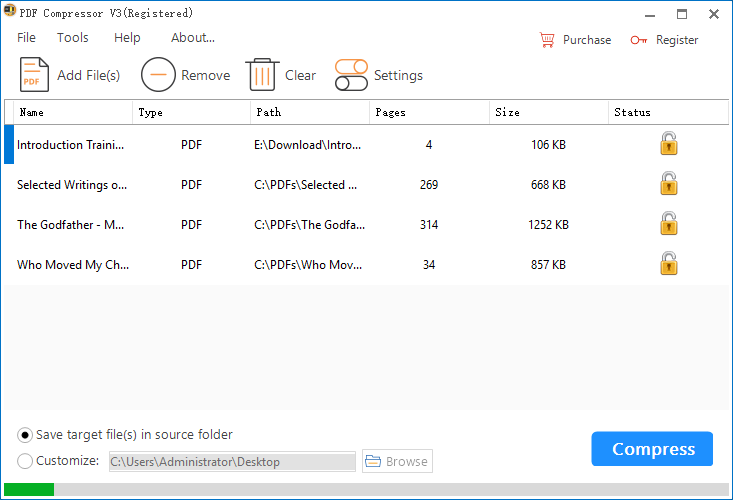
You’re allowed to add PDF files by using the file browser. Click on “Add File(s)”, browser for selected file and open it.
![]()
You’re also allowed to add PDFs by a direct drag-n-drop. Drag and drop the selected file into the main window.
Tip: PDF Compressor V3 is a batch PDF file compressor. You can add multiple files to the program in a batch.
When the files are added into the program, they will be enlisted in the main Window.
Step 2. Adjust Image Resolution.
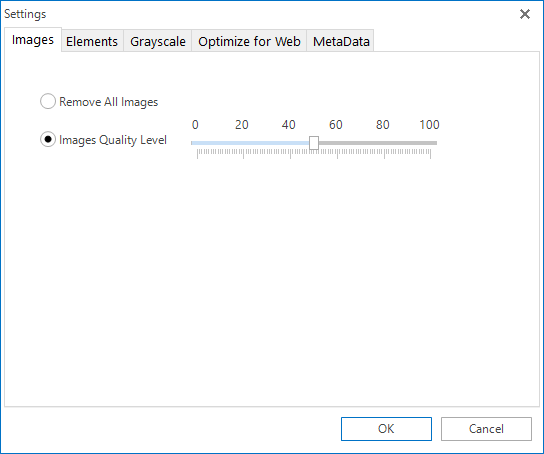
Click on “Settings” to open the compression settings panel.
![]()
On the “Images” tab, select the “Images Quality Level” option.
Choose the DPI preferred to determine the DPI level of images in PDFs.
Click on “OK” to apply the setting.
Step 3. Specify Output Directory.
The output directory is at the bottom section of the program.
You can save the output file in the folder of the source file.
You can also customize the output path.

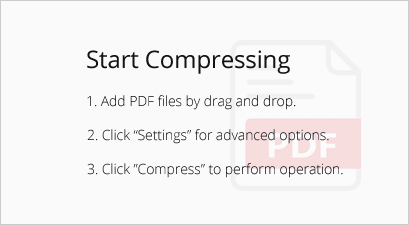
Step 4. Start Compression.
Hit the button “Compress” to start compressing images in PDFs. You will be notified if the compression is done.

PDFs can be supposed to be high in quality but no need to be reflected in large size. This simple tutorial shows how easy to resize PDF file and get manageable PDFs with PDF Compressor V3. This PDF compressor program can significantly reduce the size of images with minimum loss of quality.